Generate the Scene. Generate the Light. Generate the Dome.

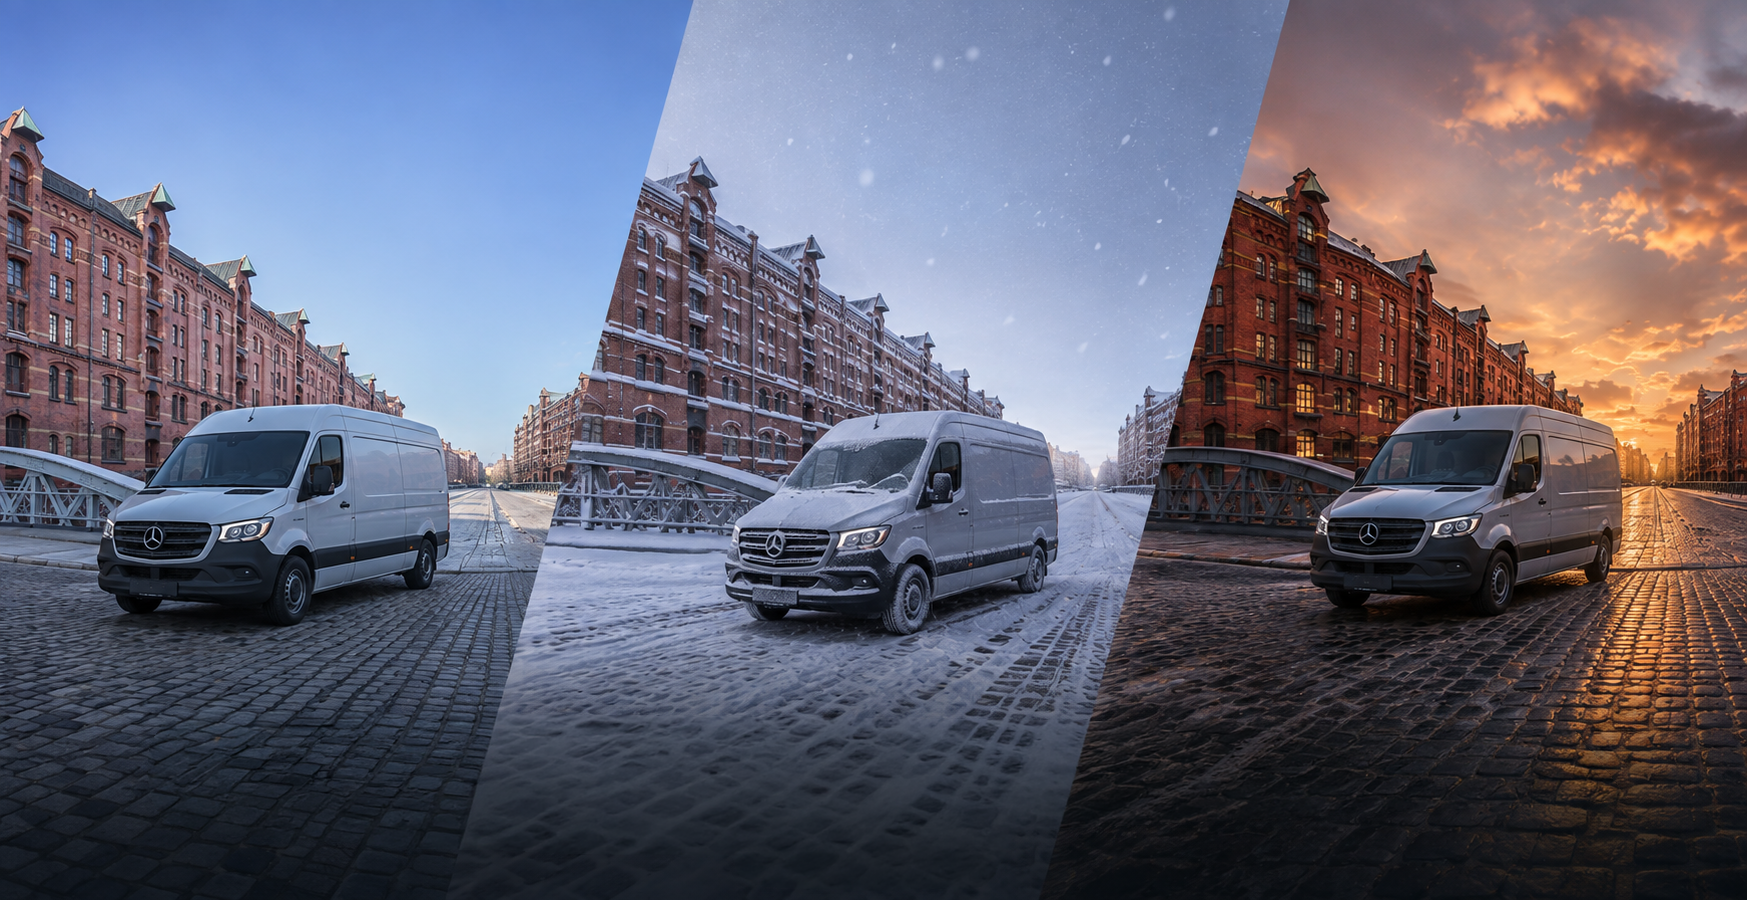
Not every campaign starts with a finished 3D render. Most start with a real photo — and a question: what if this location looked different?
This guide walks through a complete production workflow on MAGROUND: from picking a real archive location, to placing a vehicle in it, to changing the season with AI, to preparing a clean, CGI-ready backplate with a matching HDR Dome. We'll use a real example: a Mercedes-Benz Sprinter in the Speicherstadt, Hamburg.
The workflow shown here is one of the two ways MAGROUND lets you build a scene — car first, then adjust the location, or location first, then add the car. Both paths lead to the same place. In this example, we started with the vehicle.
What You Need Before You Start
Three things:
- A location from the MAGROUND archive — a backplate that fits your brand or campaign mood
- A reference image of your vehicle — a clean product shot or a configurator render
- A direction for the scene — the light, weather, or season you want the final visual to communicate
That's it. Let's go through the steps.
Step 1: Pick a Location from the Archive
Every project starts the same way: search the MAGROUND archive for a location that fits the story you want to tell.
For this example, we chose a location from the Speicherstadt in Hamburg — the historic red-brick warehouse district, shot with a cobblestone street, a footbridge, and clean architectural lines running toward the horizon. It's a location with strong character, but still enough negative space to let a vehicle take center stage.
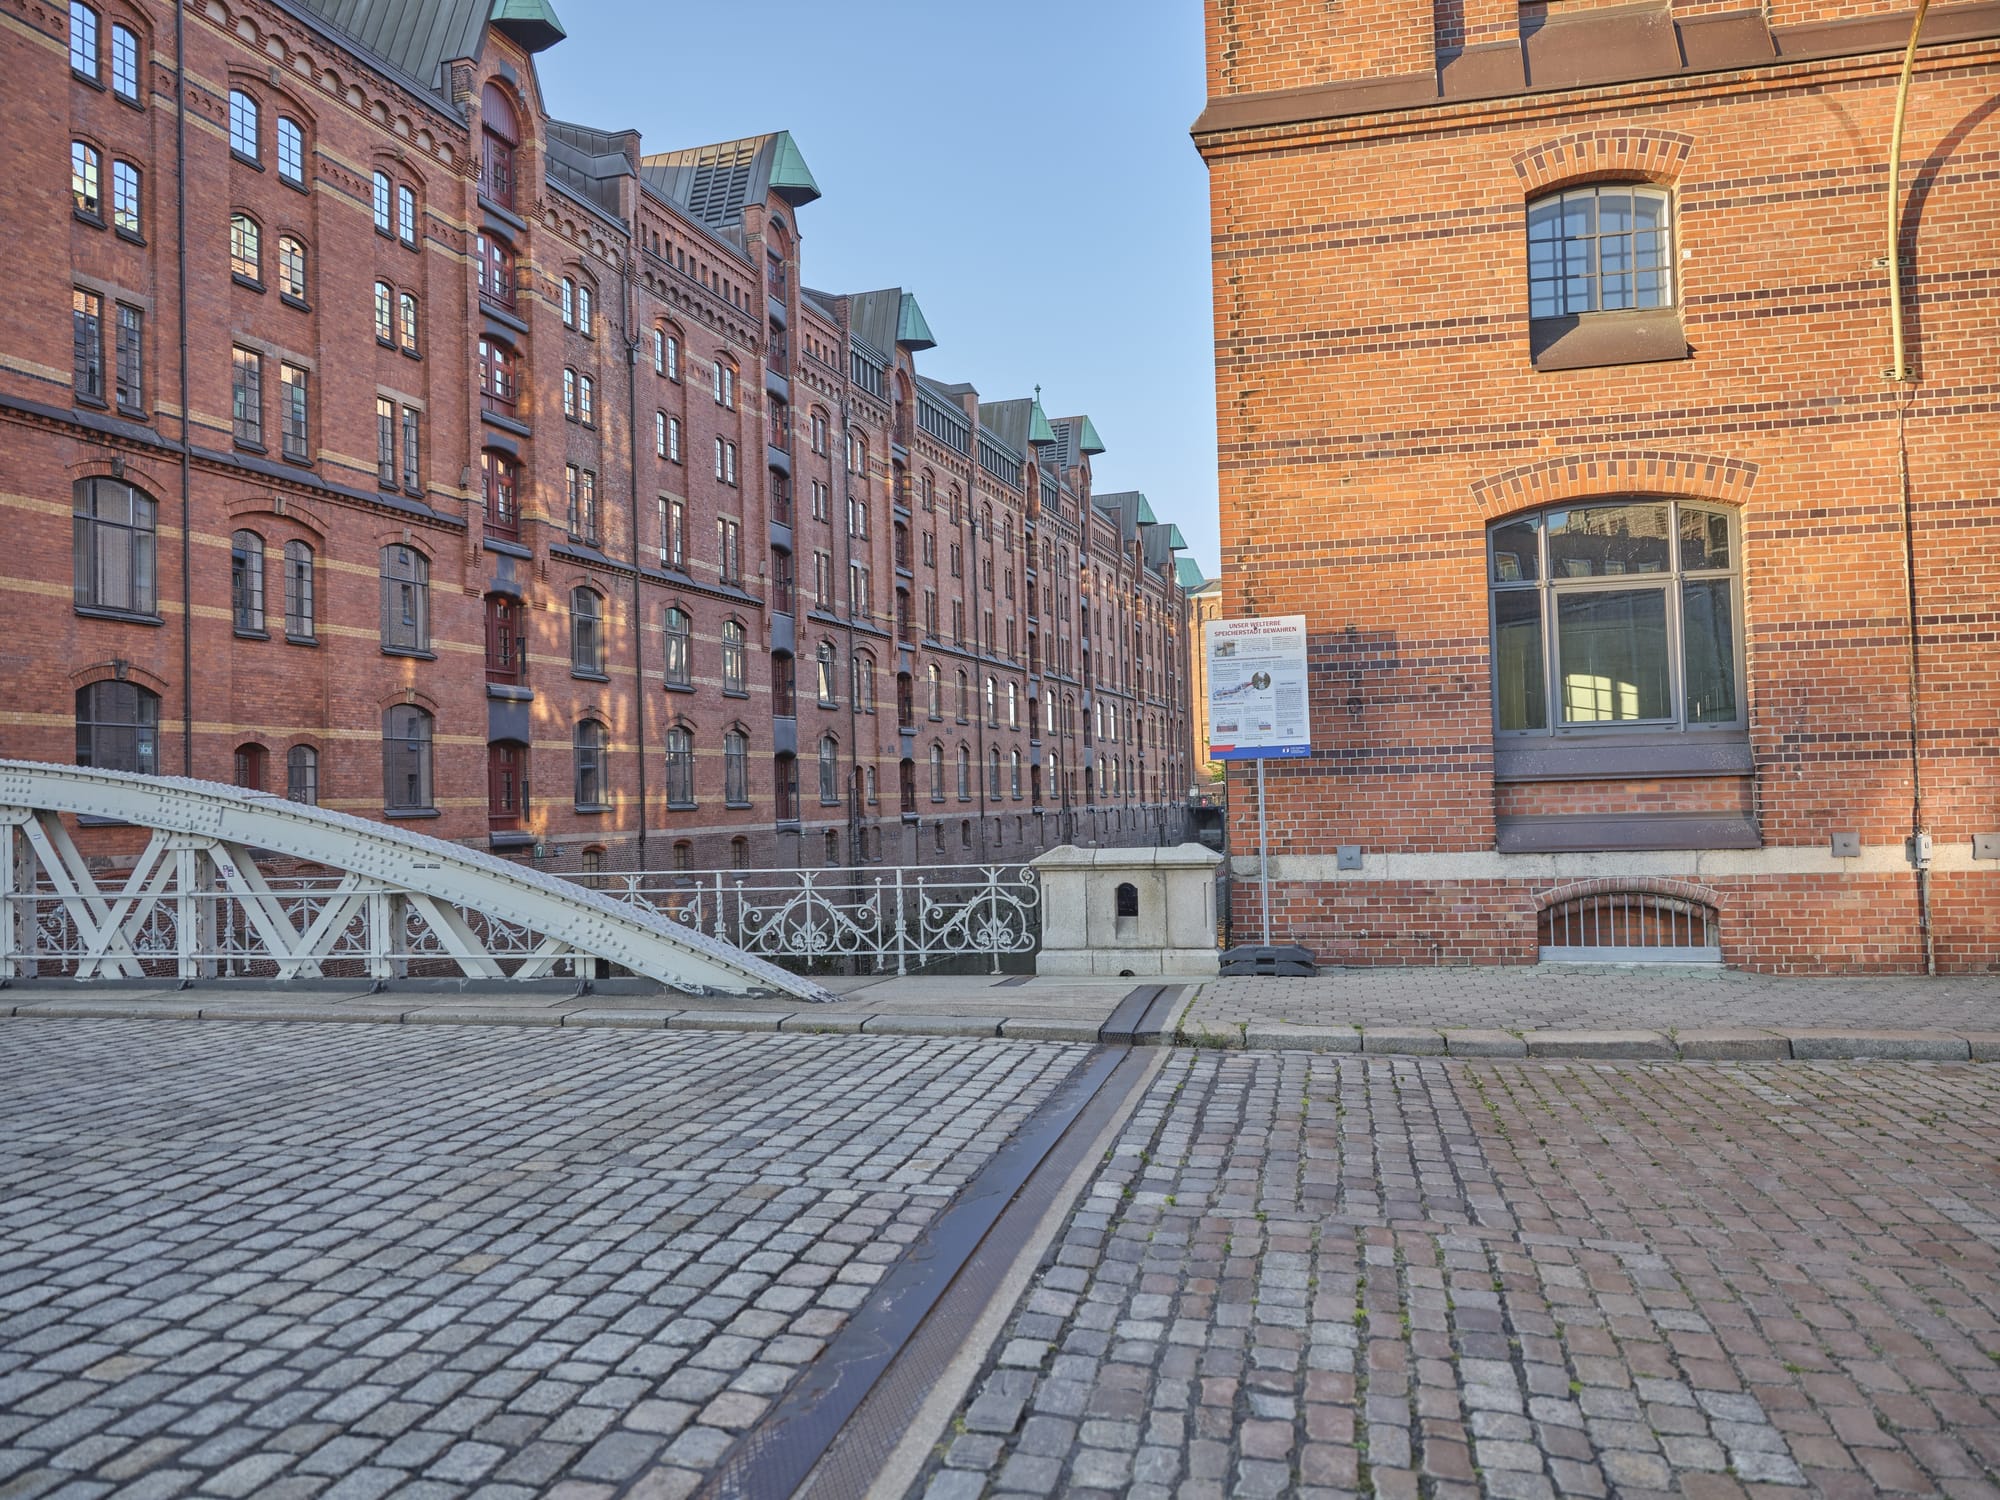
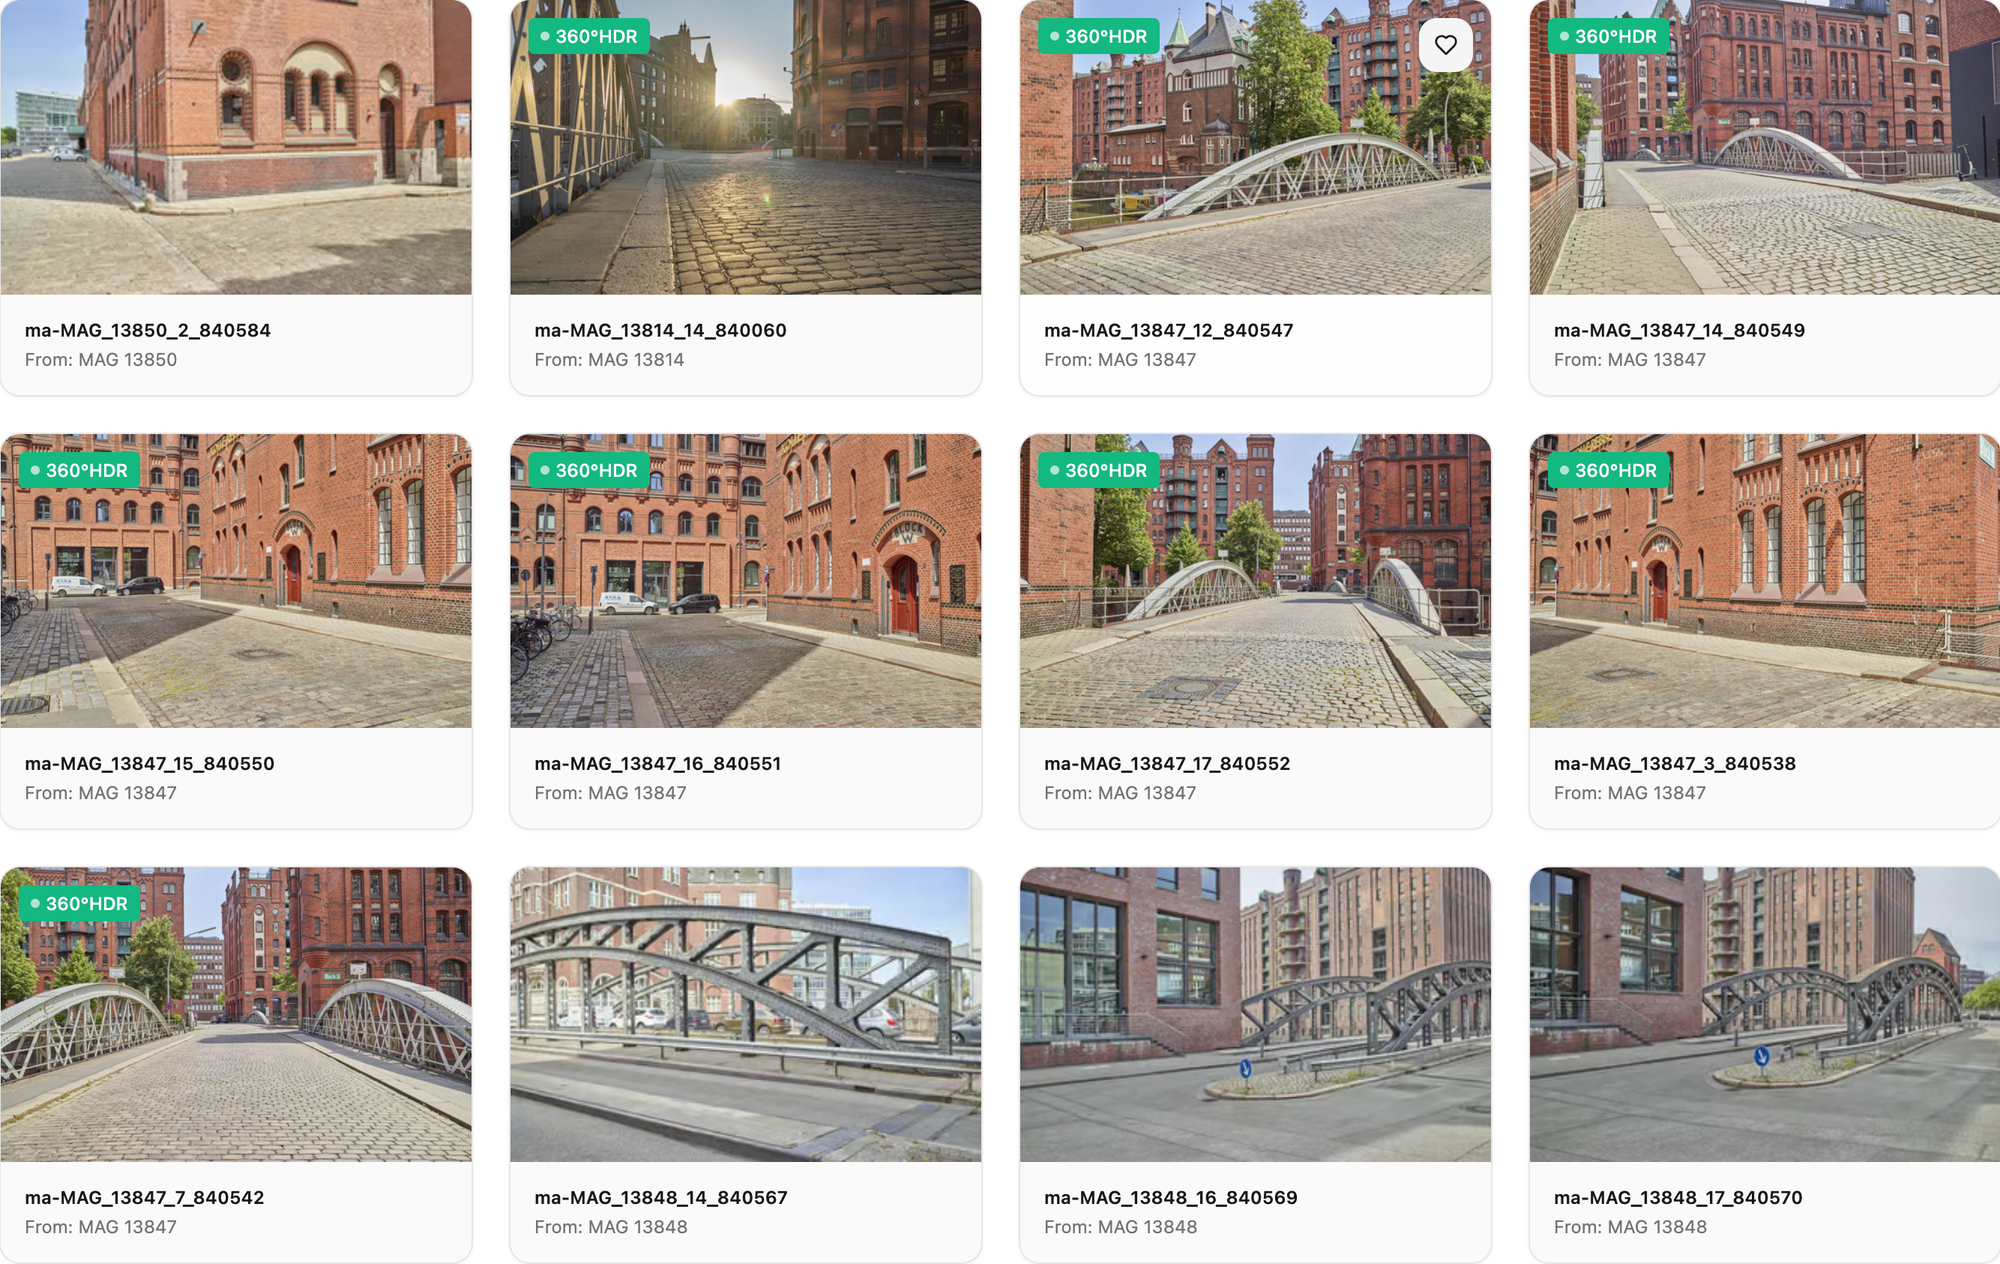
This is the raw material: a real, photographed backplate, not a synthetic render. Everything that follows builds on top of this photograph.
Step 2: Place the Vehicle with 3D Camera Flow
With the location selected, the next step is bringing the car into the scene.
For the Sprinter, we used reference images pulled directly from the official Mercedes-Benz configurator — a clean side profile with neutral lighting, which is exactly the kind of source image the AI reads best. Using 3D Camera Flow (or the Drag & Drop feature), the vehicle is matched to the location's camera angle and placed into the scene.
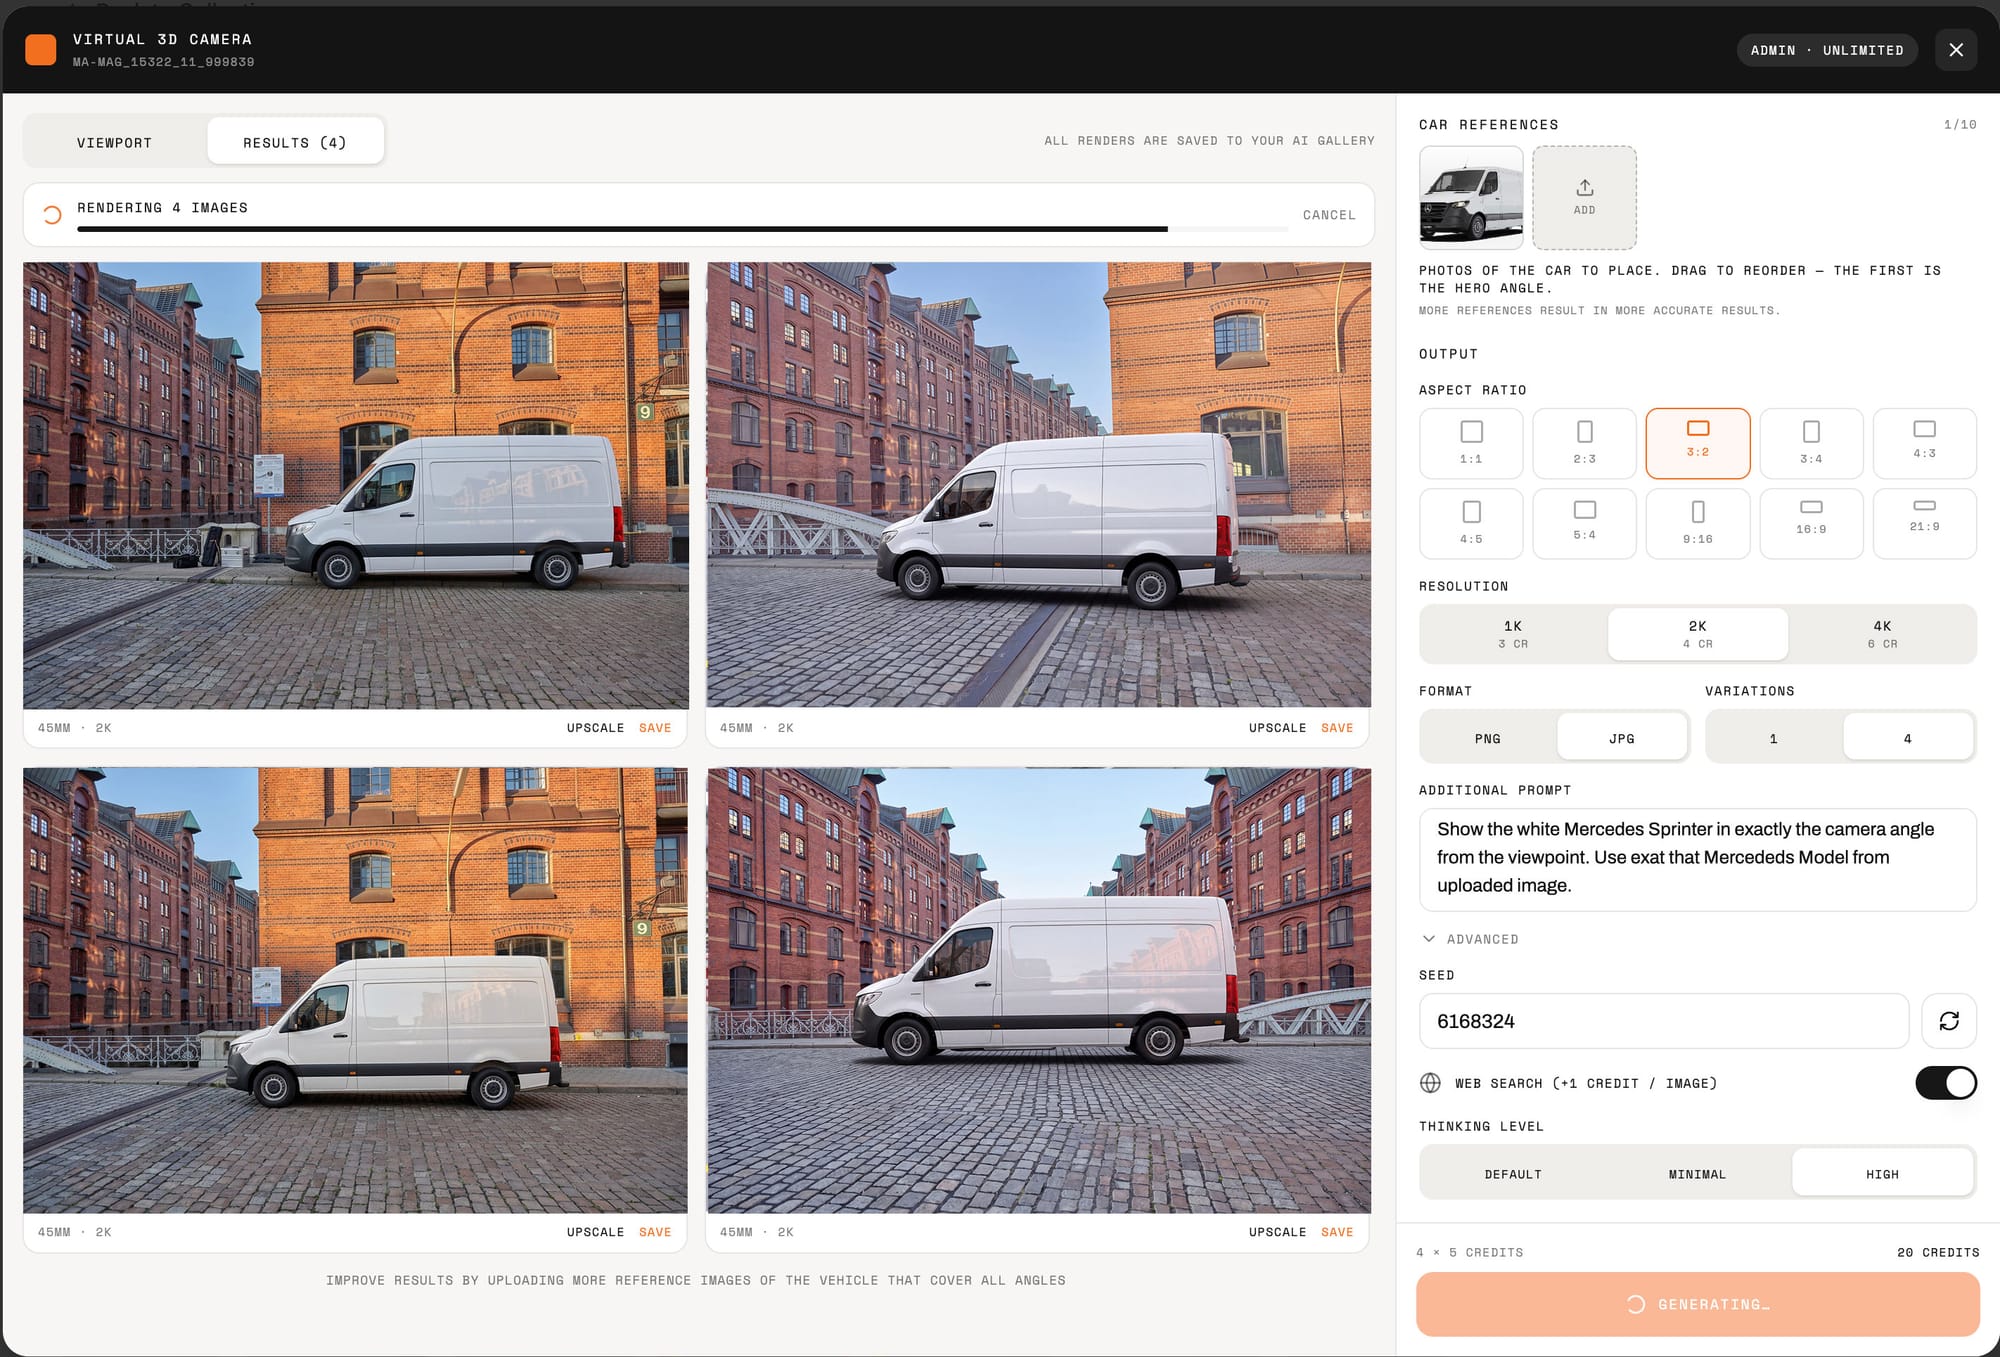
The result: the Sprinter appears photorealistically integrated into the Speicherstadt backplate, in the correct perspective, with lighting and shadows adapted to the scene.
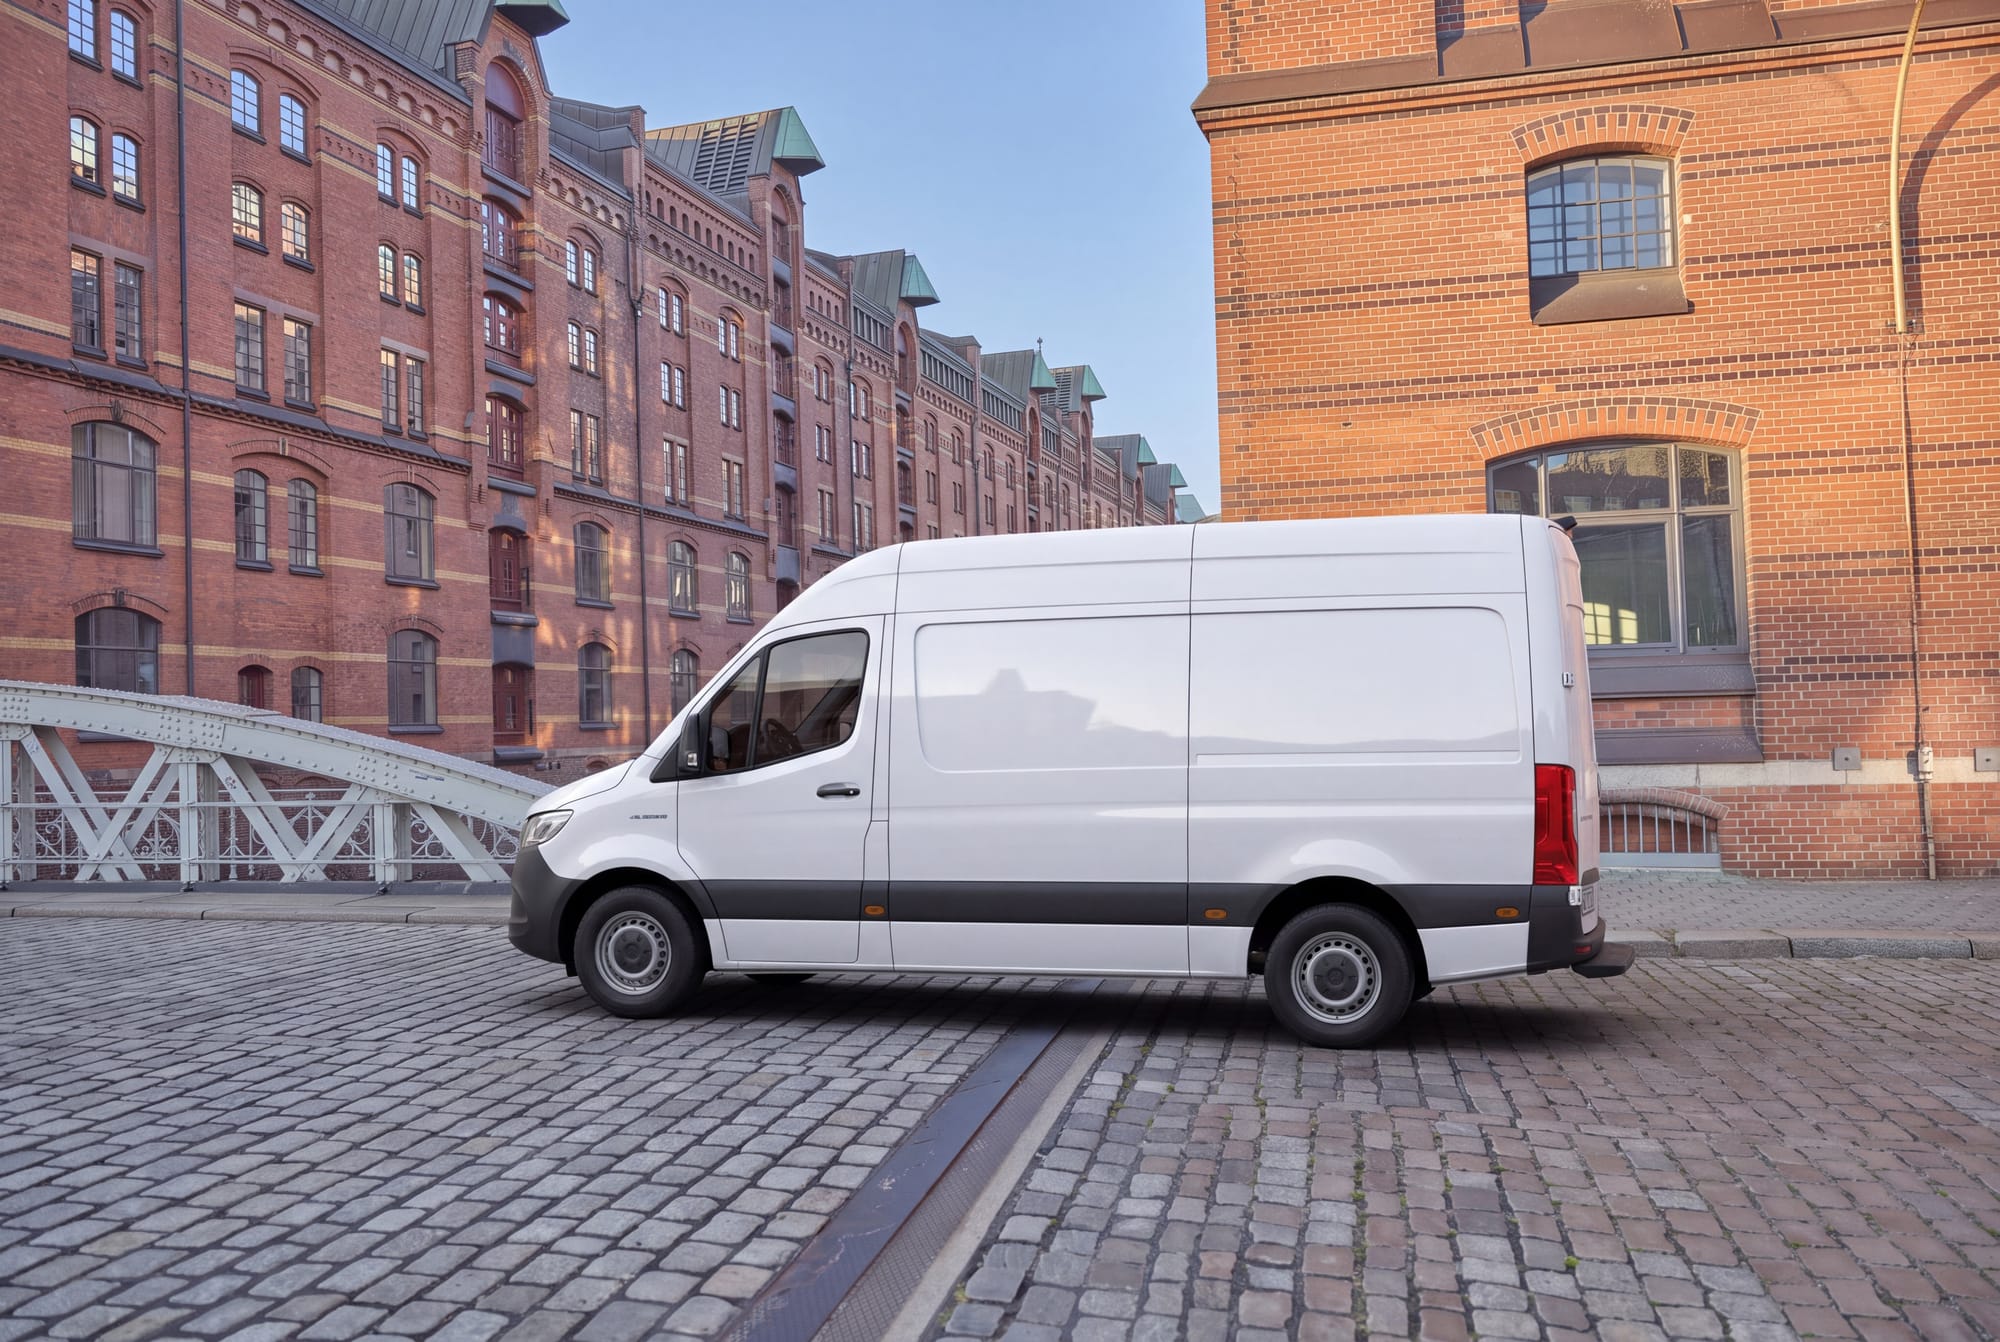
At this point, you have a fully usable marketing visual — but it's also just the starting point.
Step 3: Adjust the Scene with Edit with AI
Once the vehicle is placed, the scene doesn't have to stay as it is. This is where Edit with AI comes in.
Using one of the built-in prompt presets, we changed the entire mood of the shot — from a clear summer day to a winter scene. No manual retouching, no new photo shoot: just a simple preset (or a custom prompt, if you want more control) applied to the existing image.
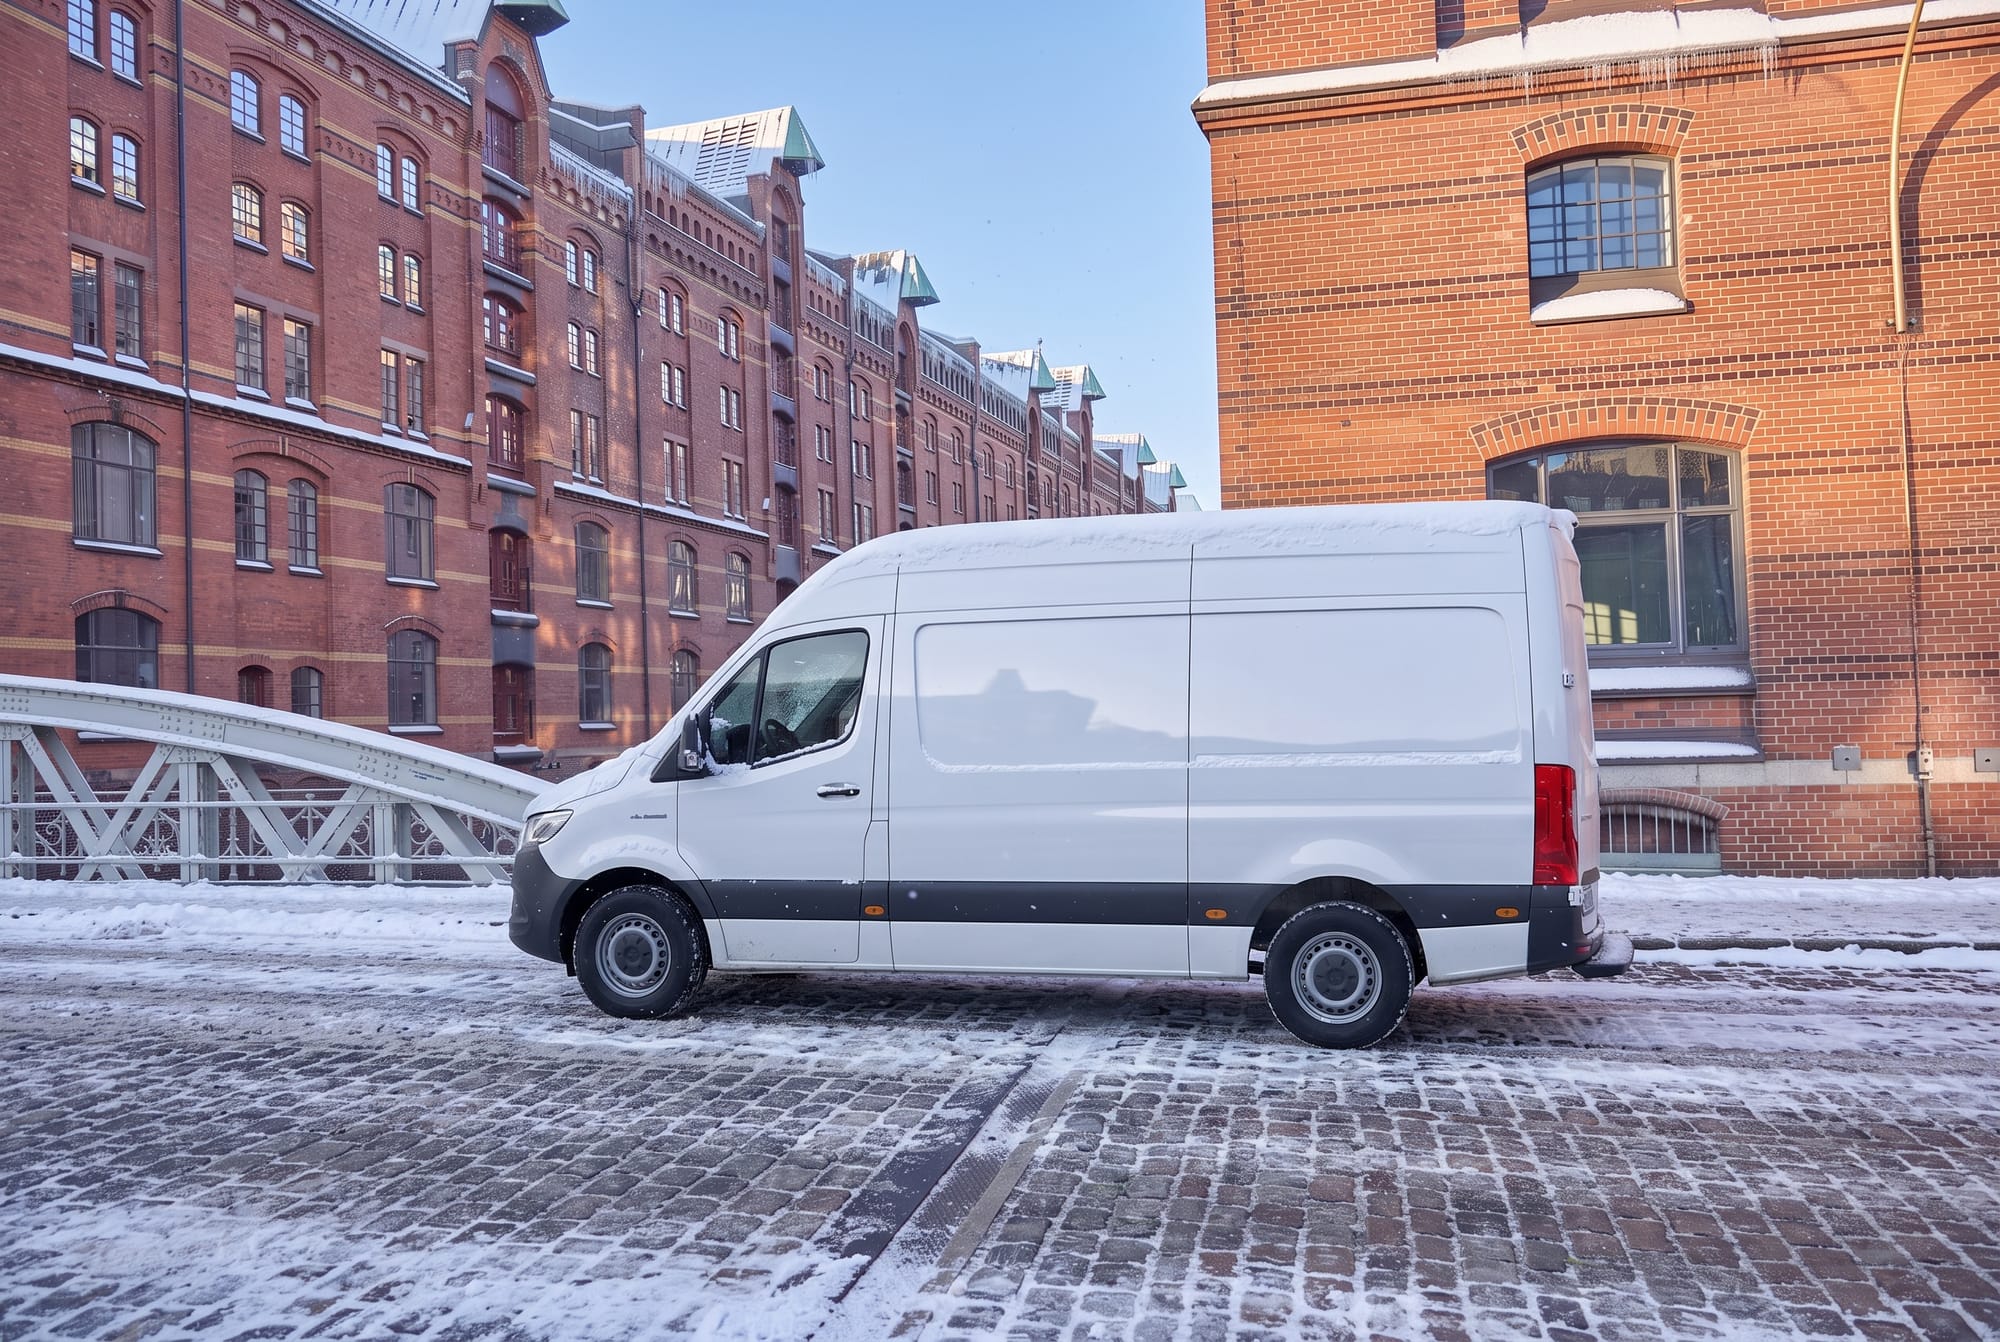
Same vehicle. Same location. Same camera angle. But now there's light snow on the rooftops, frost on the cobblestones, and a colder, crisper light — a completely different campaign mood from a single edit.
This is exactly the kind of visual that's ideal for client presentations and approval rounds: it shows the direction convincingly, without committing to final production yet.
What Happens in the Background: Real Locations, Real Light
This is the part of the workflow that's easy to miss but does the heavy lifting.
Because the starting point is a real, photographed backplate, the winter conversion isn't inventing a new location — it's re-lighting and re-texturing a real one. The spatial logic (the brick facades, the bridge, the cobblestone perspective) stays exactly where it was. Only the surface conditions change.
That grounding matters once you move past presentation visuals and into production — which is exactly what the next two steps are for.
Step 4: From Approved Visual to CGI-Ready Backplate
Once a direction like this gets client approval, the AI-generated vehicle usually needs to be replaced (in key-visuals for global makreting campaigns) with a production-accurate 3D-rendered model for final delivery.
To do that, you need the location without the car — but still in the exact winter condition that got approved. That's what the "Remove Car" preset is for. Applied to the winter scene, it cleanly removes the vehicle and reconstructs the empty backplate underneath.
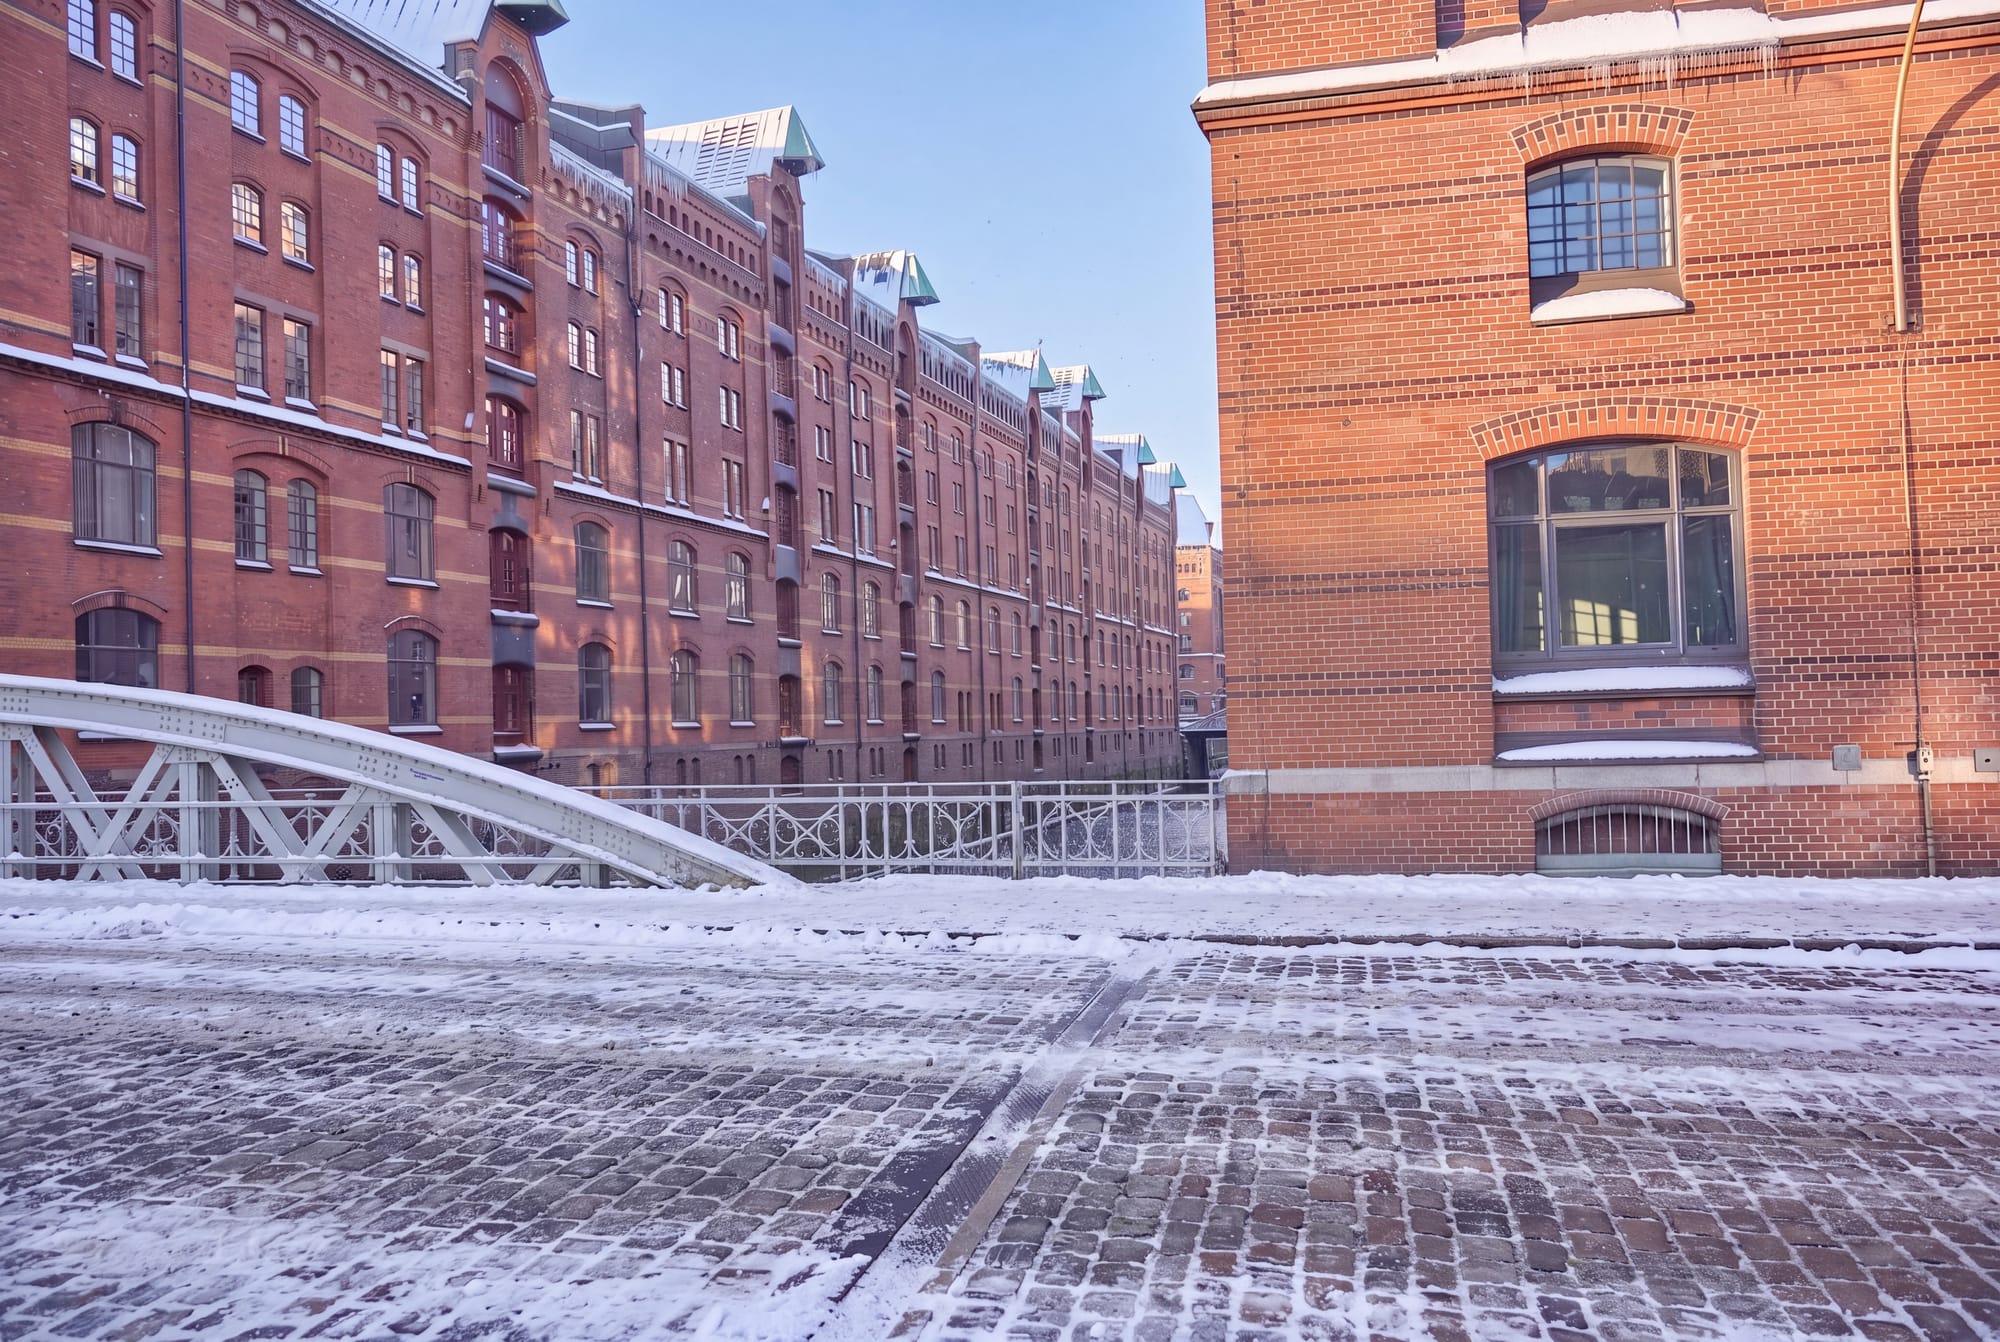
We recommend generating this file at the highest native resolution available. This empty winter backplate becomes the foundation for everything downstream: upscaling, compositing, and the final CGI render.
Step 5: Generate a Matching HDR Dome
A clean backplate solves half the problem. To integrate a 3D vehicle convincingly — correct reflections, correct light wrap, correct shadow direction — you also need an HDR Dome that matches the scene.
The original photographed HDRi for this location was captured on a clear summer day — it doesn't match our new winter backplate. This is exactly the gap the Generate HDR-Dome workflow closes. Trained on the MAGROUND HDR library, the model uses the winter backplate itself as its reference and generates a matching 360° HDR Dome — built specifically for the lighting conditions of this scene.
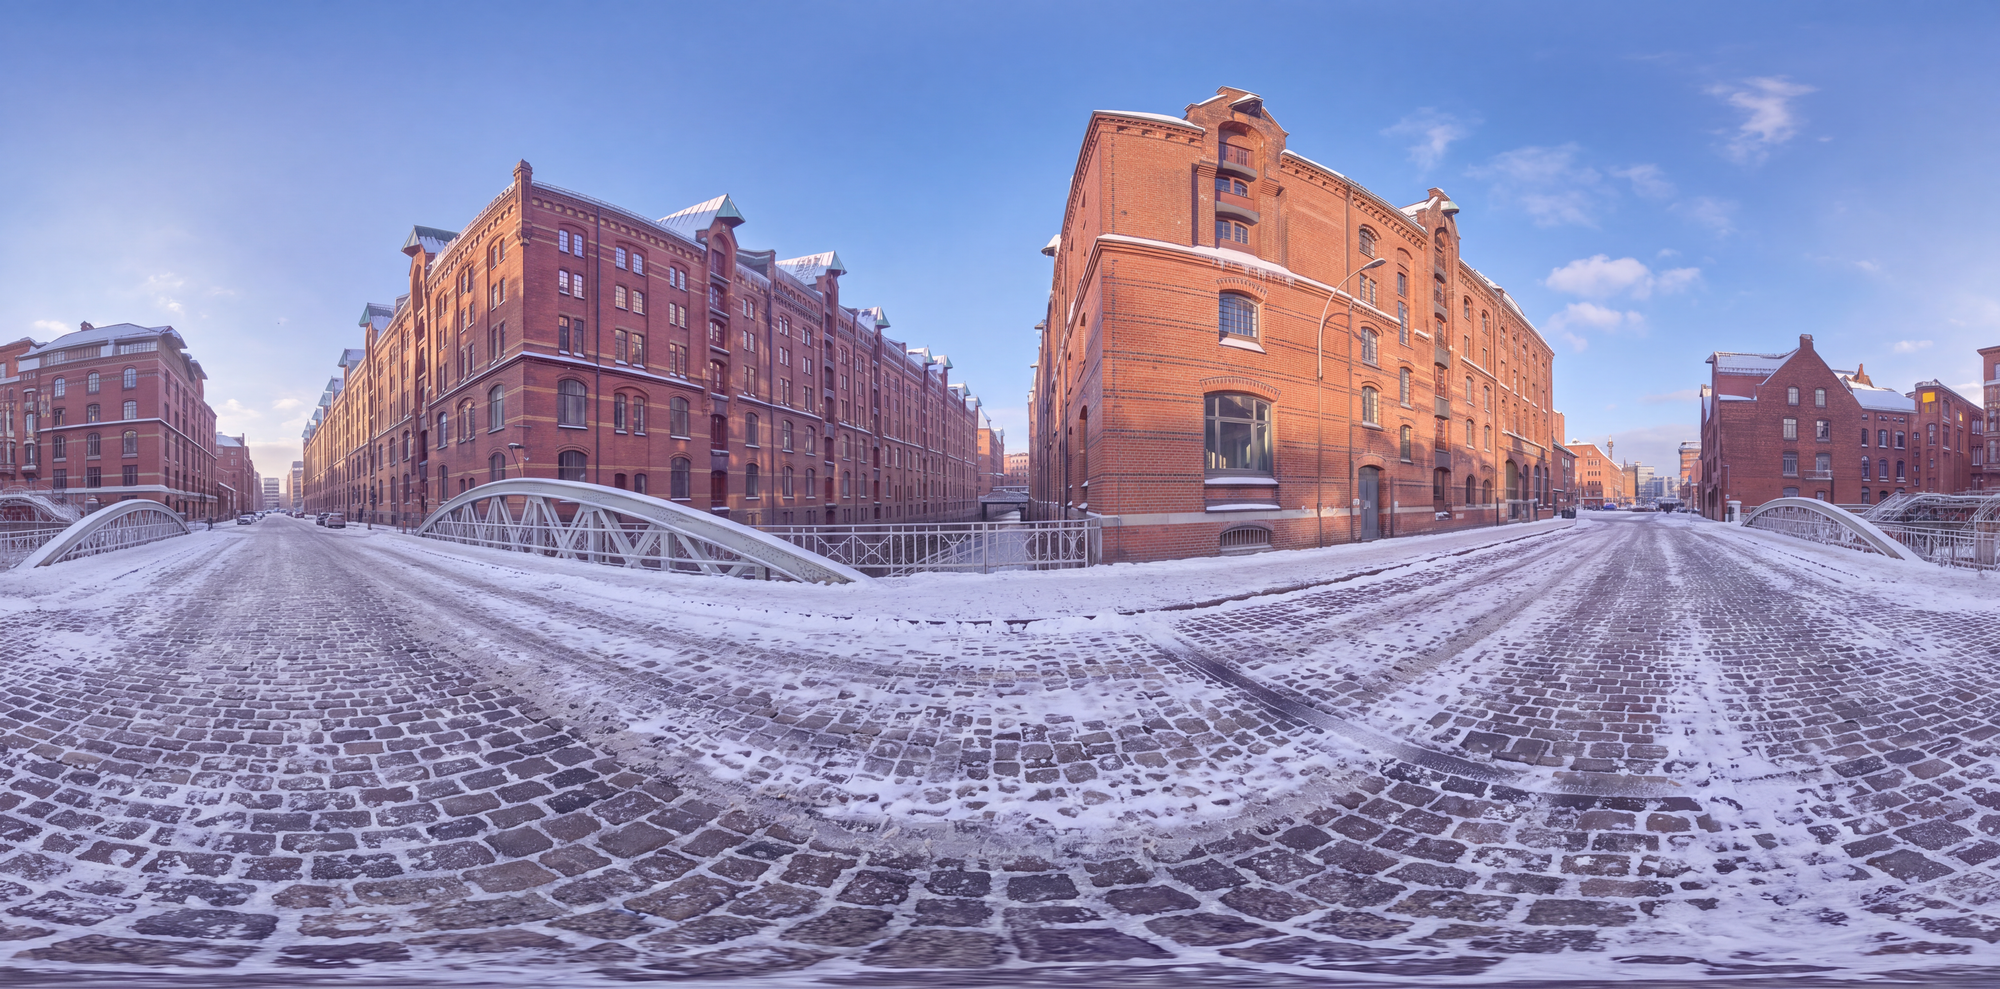
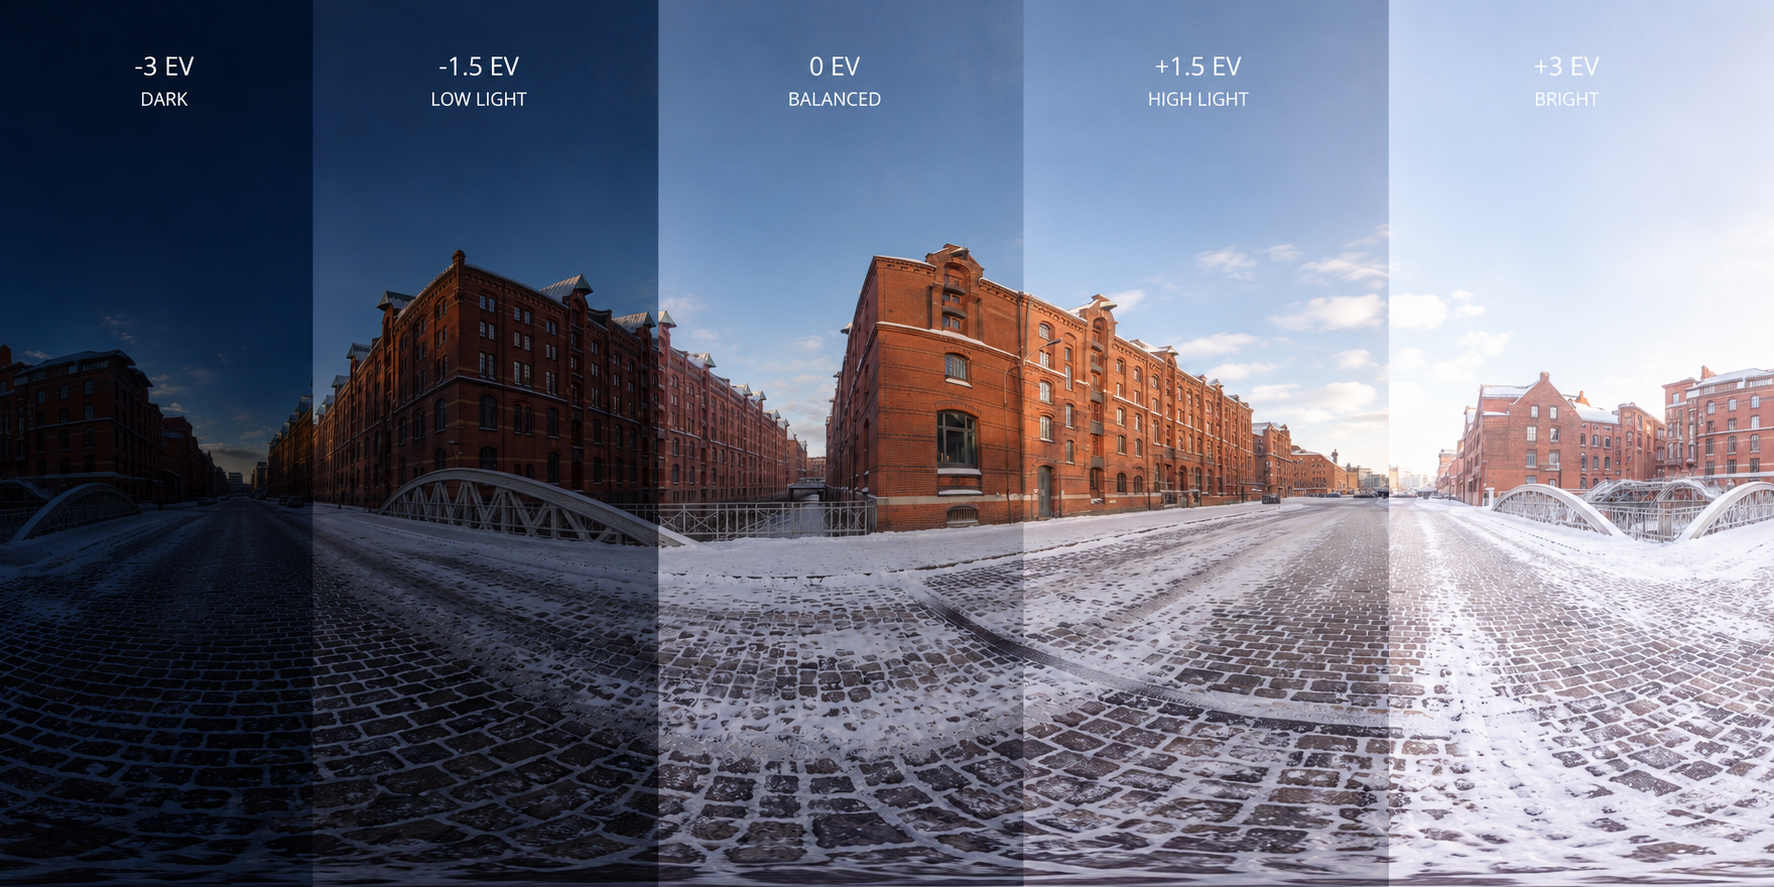
The result is a lighting environment that's coherent with the backplate it belongs to: same season, same light direction, same mood — ready to light and reflect a 3D vehicle in any CGI pipeline.
The Full Workflow at a Glance
- Select a location from the MAGROUND archive
- Place your vehicle with 3D Camera Flow or Drag & Drop
- Adjust the scene with Edit with AI (weather, season, light — via preset or custom prompt)
- Remove the car to generate a clean, CGI-ready backplate at full resolution
- Generate a matching HDR Dome for accurate lighting and reflections in your 3D render
Each step produces a usable asset on its own — the summer shot, the winter shot, the empty backplate, and the HDR Dome can all be used independently, depending on where you are in the production process.
Why This Matters
This workflow removes two of the most expensive parts of automotive production: waiting for the right season or weather to shoot in, and commissioning a matching HDR capture for every scene. Both can now be generated directly from a single real photograph — keeping the lighting and spatial logic grounded in reality, while giving you full creative control over the final mood.
From a single archive location, you get a presentation-ready visual, an approved creative direction, and a full CGI production package.
Try It Yourself
This workflow is available now on MAGROUND.com — search the archive, place your vehicle, and start adjusting the scene with Edit with AI.